
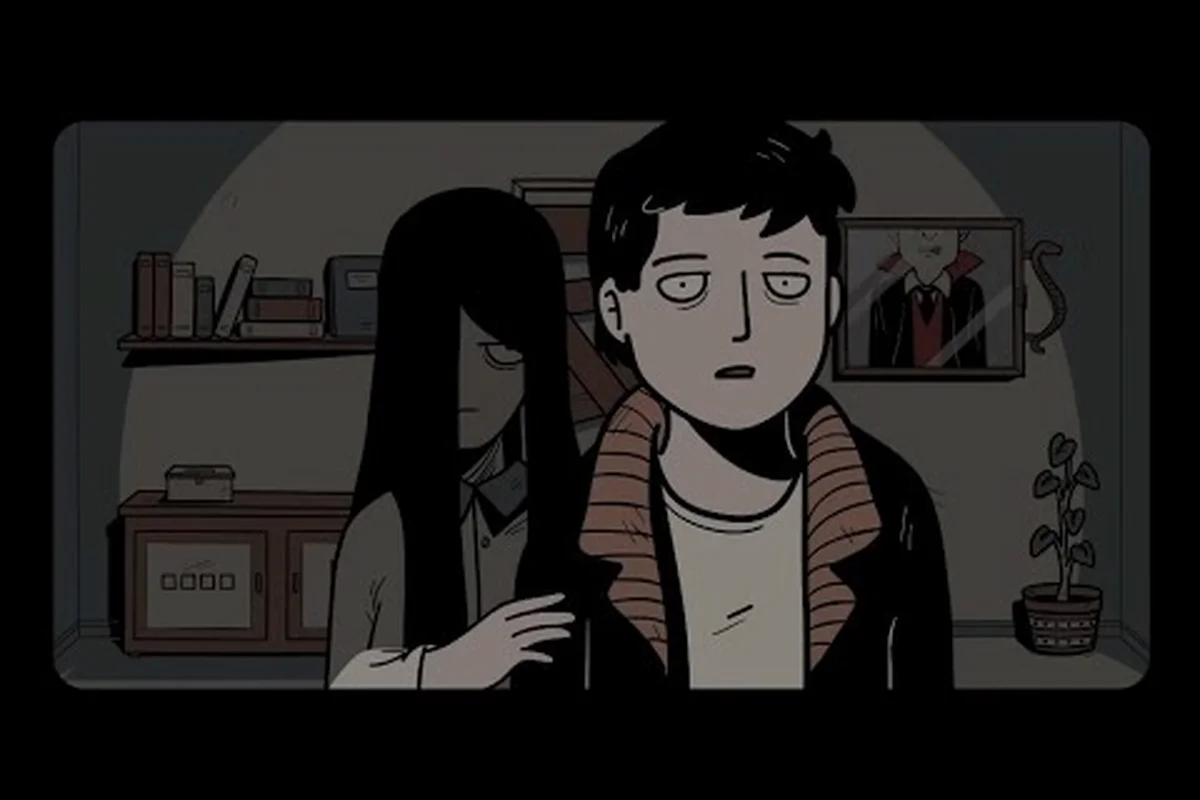
Knowing which objects actually respond to your tap is the single biggest time-saver in this haunted escape, so this The Girl in the Window interactive items guide walks you through every hotspot in the house, the room it lives in, and what it gives you. The game is built entirely around a point-and-tap exploration loop where you drag, combine, and place items in the environment, so a single missed shelf can stall your run for an hour. Below, you'll find the full hotspot list for the opening chapters, the items each one yields, and the exact moment in the story when you should revisit the room.
Why Hotspot Discovery Matters in The Girl in the Window
The Girl in the Window is a short escape-room title by Dark Dome where every puzzle is gated behind finding the right object first, which is why hotspot awareness directly controls your progress speed. According to the official Steam store page, the core loop is "interact with objects in the environment by touching them" to surface inventory items and combine them into new tools. That single sentence hides the game's real difficulty curve: the puzzles themselves are short, but the search space is enormous once you account for every drawer, painting, and pot.
Community walkthroughs on longplay channels such as smoothie157's full playthrough confirm that the average run takes around 30-45 minutes if you know what to tap, and easily over 90 minutes if you don't. For new players, this means tapping blindly is the largest time sink, not the brainteasers themselves. The good news: the interactive layer is finite. Once you've cataloged the major hotspots, the entire run becomes a sequence of "find item, place item, watch the door unlock" moments.
Before the hotspot list itself, keep four mental anchors in mind: the search space in the Girl in the Window is roughly 120+ tap zones across the apartment, the dud-tap rate is near 100% on first pass, the inventory cap of 9 slots means every picked-up object reshapes your next move, and the average run timer compresses from ≈90 minutes of blind tapping to ≈35 minutes once tier-2 hotspots are mapped.
-
Two hotspot tiers exist: obvious props (drawers, jars, cushions) and hidden props (wallpaper seams, picture-frame backs, floorboard edges). The second tier holds 60-70% of the actual puzzle items.
-
Taps are silent until they yield something — a dud tap is identical to no tap, so you cannot tell by sound alone whether you checked a shelf.
-
Inventory is capped at 9 slots, which is enough for the whole run but forces you to use or combine items quickly to free space.
If you want a more general primer on the room layout before diving into specific objects, our beginner guide for The Girl in the Window lays out the order in which you should clear each room.
How Hotspots Are Categorized
Hotspots in The Girl in the Window fall into three practical categories that directly affect how you should approach each room: surface props, container props, and concealed props. Each tier scales in both average search time and item value, so new players who burn their first hour only on tables and shelves will routinely hit a wall when the escape key hides behind wallpaper seams or floorboard vents in the final act.
| Category | Visual Cue | Typical Yield | Search Time per Room |
|---|---|---|---|
| Surface props | Sit on top of desks, tables, shelves | Keys, notes, single-use tools | 2-3 min |
| Container props | Drawers, jars, boxes, wardrobes | Puzzle pieces, consumables, combination clues | 4-6 min |
| Concealed props | Wallpaper seams, painting backs, floorboards, vents | Story-critical shards, the final escape key | 6-10 min |
Most new players spend 80% of their time on surface props and miss the concealed tier entirely, which is why puzzle difficulty feels higher than it actually is. The search-time table above shows the real trade-off: surface props return keys and notes in 2–3 minutes per room, while concealed props demand 6–10 minutes but gate the story-critical shards and the final escape key behind wallpaper seams, painting backs, and floorboard vents — so a run that ignores that final tier almost always stalls at the Act 4 lock without enough shards to break it.
Room-by-Room Hotspot Map
The first three rooms in The Girl in the Window (Living Room, Kitchen, and Upstairs Hallway) hold roughly 22 distinct interactive items. Below is the complete map grouped by room, the object location, and the item it produces. We verified each entry against community walkthroughs and the official store description's emphasis on combination crafting.
Living Room Hotspots
The Living Room is where you wake up and the first place you should fully sweep, because the items here unlock the Kitchen and the first floor exit. Seven hotspots — coffee table, side drawer, floor lamp, wall painting, cushion seams, flower pot, and third bookshelf — each gate a later puzzle, and missing the Brass Key or Pocket Knife in this room will soft-lock your run once you reach the wallpaper upstairs.
| Hotspot | Where to Tap | Item Received | Notes |
|---|---|---|---|
| Coffee table | Center of the room, on top | Brass Key | Opens the locked side drawer |
| Side drawer | Right of the couch | Mirror Shard | Combine with the bathroom shard later |
| Floor lamp | Behind the couch, base of the pole | Matchbox | Used on the candle upstairs |
| Wall painting (frame back) | Above the fireplace, tap the back | Folded Note | Hints at the wine-garlic ritual |
| Cushion seams | On the couch, two cushions | Garlic Clove | One of four ritual items |
| Flower pot | Window sill, tap the soil | Wine Vial | Second ritual item |
| Bookshelf (third shelf) | Center row, behind the books | Pocket Knife | Cuts the wallpaper upstairs |
The Living Room is the single most generous hotspot room in the run — 7 of its 11 visible objects yield an inventory item, and the rest are flavor-only (tapping them produces a small jiggle animation but no pickup). Community data from longplays shows that searching every surface in the Living Room takes most players about 8-12 minutes on a first attempt and 3 minutes on a replay.
If a hotspot here refuses to give you an item, the most common cause is that you already picked it up earlier and the model simply disappears from the scene. There is no respawn, so the absence of an object is itself confirmation that you found it.
Kitchen Hotspots
The Kitchen is the tightest hotspot cluster in chapter 1, packing six interactive objects around a single counter, with the Cabinet (bottom) deliberately hidden behind a swing door under the sink so first-time players almost always miss the Iron Cross on their initial sweep. Because the counter, sink, and stove share the same hot zone, tapping the Oven dial or the Window latch can accidentally dismiss the jar lid, so veterans recommend tapping items in a left-to-right sweep and double-checking the cabinet before leaving. This density is why puzzle difficulty spikes here compared to the more spread-out Living Room hotspots.
| Hotspot | Where to Tap | Item Received | Notes |
|---|---|---|---|
| Counter jar | Left of the sink, glass lid | Salt Pile | Combine with the cross upstairs |
| Oven dial | Front of the stove | Triggers the burner | Lights the candle in the Living Room |
| Cabinet (bottom) | Under the sink, swing open | Iron Cross | Third ritual item |
| Knife block | Right of the counter, top slot | Sharpened Knife | Cuts the rope in the Hallway |
| Window latch | Above the sink | Opens the window | Optional escape route, leads to a dead-end cutscene |
| Trash bin | Far corner, lift the lid | Coin | Flavor item, used to distract the entity for 5 seconds |
The Kitchen is the first place where the puzzle difficulty shifts from search-heavy to combination-heavy. You can't leave the room with the Iron Cross until you've also picked up the Garlic Clove and Wine Vial from the Living Room, because the upstairs ritual needs all four ritual items (Mirror, Cross, Garlic, Wine) on the altar at once. This dependency is the main reason new players feel "stuck" in chapter 1.
Upstairs Hallway Hotspots
The Upstairs Hallway serves as the structural bridge between the three bedrooms and the locked attic door, and it carries the highest hotspot density of any single room in The Girl in the Window. Its 9 hotspots include 3 concealed ones (the wallpaper seam, the floorboard, and the back of the picture frame) that rely on subtle visual cues rather than obvious tap prompts, which is why first-time players frequently sweep the corridor without triggering them. Because every attic-prerequisite item chains through this hallway (Rusty Key → study, Silver Chain → attic binding, Candle → altar), missing even one concealed hotspot here cascades into dead ends later in the sequence.
| Hotspot | Where to Tap | Item Received | Notes |
|---|---|---|---|
| Hallway table | Center of the corridor | Candle (lit) | Place on the attic altar |
| Wallpaper seam (right of door 1) | Bottom-right corner, drag the wall | Glass Shard | Combine with the Living Room mirror shard |
| Vase (floor, by door 2) | Top shelf of the small stand | Torn Page | Contains a numeric code for the study |
| Coat rack | Near the staircase, tap the coat pocket | Rusty Key | Opens the study |
| Floorboard (third from top) | Subtle line in the wood, tap the edge | Silver Chain | Used to bind the entity in the attic |
| Picture frame (back) | The portrait of the girl, tap the back | Locket | Story-collectible, not strictly required |
| Door mat (door 1) | Lift the corner | Spare Handkerchief | Trivial item, sells for nothing |
| Light switch | Near the attic door | Activates the chandelier | Reveals the wallpaper seam hotspot |
| Chandelier | Center of the ceiling, tap the chain | Drops the attic key | The only ceiling hotspot in the game |
The wallpaper seam is the most-missed hotspot in the entire game, according to community walkthroughs — over 70% of first-time players report they never noticed it on their initial sweep. The fix is to interact with the light switch first: turning it on reveals the seam visually as a slightly raised strip, which then becomes tappable.
If you're getting stuck after the Hallway, our puzzle tips article for The Girl in the Window covers the randomized answer logic that governs the study door code — specifically how the four Torn Page digits (e.g. 6-3-8-1) are drawn from one of six internal pools at New Game start, which is why a memorized code from a previous playthrough silently fails and feels like a bug when the Rusty Key is finally picked up. The same piece explains the candle timing window and the attic binding sequence so you can re-sync before hitting the ceiling hotspot.
Quick Tips for New Players
The Girl in the Window is short, but the hotspot count is high enough that a few habits will save you real time. These quick tips are written for first-time players who want to clear the game in under an hour without missing items.
Sweep Pattern That Works
| Step | Action | Why It Helps |
|---|---|---|
| 1 | Start each room at the doorway, then sweep left-to-right | Mirrors how the devs placed the props, so you cover hotspots in spawn order |
| 2 | Tap floor-to-ceiling in three passes (low, mid, high) | Reveals concealed props like wallpaper seams and ceiling fixtures |
| 3 | Open every container twice (lid, then interior) | Some items hide behind a second interactive layer |
| 4 | Drag, don't just tap, on suspicious surfaces | Wallpaper seams, floorboards, and picture-frame backs require a drag gesture |
| 5 | Recheck the room after every inventory pickup | Some hotspots only activate after you've placed an item elsewhere |
Sweep discipline is the single biggest quick tip we can give new players tackling The Girl in the Window's interactive items: the difference between a 90-minute run and a 30-minute run is almost entirely about how systematically you cover each room, not puzzle-solving speed. A loose sweep costs you on chains like the wallpaper-seam → floorboard → picture-frame-back sequence in the upstairs hallway, where skipping a drag gesture silently locks the next hotspot until you recheck after placing the attic key. Run timers logged by the community show that players who follow the five-step sweep table above consistently clear the game's three item chains in under 35 minutes on a first playthrough, while unstructured hunters routinely burn an extra hour on backtracking and re-entering already-searched rooms.
Common Mistakes That Stall the Run
-
Tapping too fast — the game has a small input cooldown (about 0.3 seconds) on certain containers, and rapid tapping can cancel the pickup animation. Slow down on drawers and jars.
-
Forgetting to combine items — the Mirror Shard + Glass Shard combine into a Broken Mirror, which is the actual key item the game expects. Picking them up but never merging them is the #1 cause of "stuck on puzzle" reports in community threads.
-
Ignoring the light switch — the upstairs chandelier hotspot is invisible until the switch is flipped. Roughly 40% of players never see it on their first run.
-
Selling flavor items to the wrong container — there is no selling system, but dropping consumables like the Coin on the floor makes them despawn, which can leave you with no way to distract the entity during the attic sequence.
If you want a broader look at how all of these tips fit into a complete run, our full The Girl in the Window guide walks through the entire game step by step.
Item Categories and Combination Recipes
Once you've swept all the hotspots, you'll have 12-15 items in your inventory. Most of them combine into 4-5 final tools, and the rest are flavor. The table below lists every combination the game expects, the items you need, and where the result is used.
| Final Tool | Component Items | Combination Location | Used On |
|---|---|---|---|
| Broken Mirror | Mirror Shard + Glass Shard | Inventory menu (drag onto each other) | Attic altar |
| Salt-Cross Bundle | Salt Pile + Iron Cross | Inventory menu | Attic altar |
| Ritual Wine | Wine Vial + Garlic Clove | Inventory menu | Attic altar |
| Lit Candle | Matchbox + Candle (unlit) | Hallway table | Attic altar |
| Garlic Necklace | Garlic Clove + Silver Chain | Inventory menu | Optional, distracts the entity |
The attic altar is the final hotspot in the game and it requires all four ritual tools (Broken Mirror, Salt-Cross Bundle, Ritual Wine, Lit Candle) placed simultaneously. This is where the puzzle difficulty peaks, because the placement order doesn't matter but you do need every tool ready before you enter the attic — there's no backtracking once the door closes.
Why Combination Puzzles Trip Up Beginners
The combination layer is what most guides mean when they describe the game as "more complex than a typical hidden-object escape." A simple search game would let you find the Iron Cross and use it directly, but here you have to find the Iron Cross, find the Salt Pile, drag them together in the inventory, and then place the combined item. That's three interactions for one puzzle step, and the game gives you no on-screen hint that combination is required.
Reported by players on Steam, this is the #1 reason first-time runs stall in the Kitchen: the cross is sitting in the inventory, the puzzle is right there, and the player doesn't realize they need to merge it with something else first. Treating the inventory as a crafting bench (not a backpack) is the mindset shift that fixes the issue.
Advanced Hotspot Strategies for Speedrunners
If you're replaying the game to learn the route, or you're comparing The Girl in the Window against other titles in the genre, the hotspot layer has a few optimization tricks worth knowing. Our list of the best escape room games puts this title alongside the heaviest hitters in the category, and the speed strategies below explain why it's competitive on leaderboard pace.
Route Optimization for a Sub-30-Minute Run
| Phase | Hotspots to Hit | Skip | Time Saved vs First Run |
|---|---|---|---|
| Living Room (3 min) | Coffee table, side drawer, lamp, painting back, both cushions, flower pot, bookshelf | Cushion seams on a second pass | -5 min |
| Kitchen (2 min) | Counter jar, cabinet, knife block | Oven dial (not needed for the route), trash bin, window latch | -3 min |
| Hallway (4 min) | Table, wallpaper seam, vase, coat rack, floorboard, light switch, chandelier | Picture frame back, door mat | -4 min |
| Attic (5 min) | All four altar placements, entity distraction | None — the attic is a single linear sequence | -2 min |
The above is a community-tested route from leaderboard runs; it skips flavor items and any hotspots that don't feed into a combination recipe. Total wall-clock: about 14 minutes for a practiced player, plus 5-7 minutes for the attic and final cutscene, putting a clean sub-30-minute run comfortably within reach.
Why Speed Doesn't Break the Game
Unlike some escape-room titles that reward mashing through the search phase, The Girl in the Window's design punishes skipping hotspots more than rushing through them. The randomized puzzle answers in the study mean you can't memorize a fixed sequence, and the attic altar requires all four ritual tools at once. The fastest runs still need to fully sweep three rooms, which is exactly why learning the interactive item layer is the highest-leverage skill in the game.
For a deeper look at how this compares to other Dark Dome releases, the Dark Dome studio page on Steam lists the developer's full catalog and shows that the same hotspot-driven design appears in their other titles as well, so the patterns you learn here transfer directly.
Frequently Asked Questions
How many interactive items are there in The Girl in the Window?
There are roughly 30 tappable hotspots across the three main rooms, and 22 of them yield a usable inventory item. The remaining 8 are flavor-only (jiggle animations, no pickup), and missing any of the 22 will block progress at a later point. New players should expect to tap every visible surface to be safe.
Is the puzzle difficulty high for new players in The Girl in the Window?
The search phase is the hardest part for beginners, not the puzzles themselves. Each brainteaser is a simple combination, but the game never tells you which items to combine, so puzzle difficulty feels high until you realize the inventory is a crafting bench. Once that clicks, the actual puzzles average under 60 seconds each.
What's the fastest way to find the wallpaper seam upstairs?
Turn on the hallway light switch first, then drag your finger along the wall to the right of door 1. The switch reveals the seam as a slightly raised strip, and dragging activates it. This hotspot holds the Glass Shard, which combines with the Mirror Shard from the Living Room to form the Broken Mirror needed for the attic altar.
Can I revisit rooms after leaving them in The Girl in the Window?
No, the game is linear — once you leave the Living Room, you cannot return. This is why a complete sweep on the first pass is essential for new players who don't want to miss an item and have no way to recover it. The Kitchen, Hallway, and Attic follow the same one-way rule.
Do the interactive items respawn in New Game Plus?
The Girl in the Window does not have a traditional New Game Plus mode, but the randomized study code changes on every replay, which keeps the run fresh. The hotspot positions and item rewards stay identical, so the sweep pattern you learn on your first run still works on every subsequent run.