
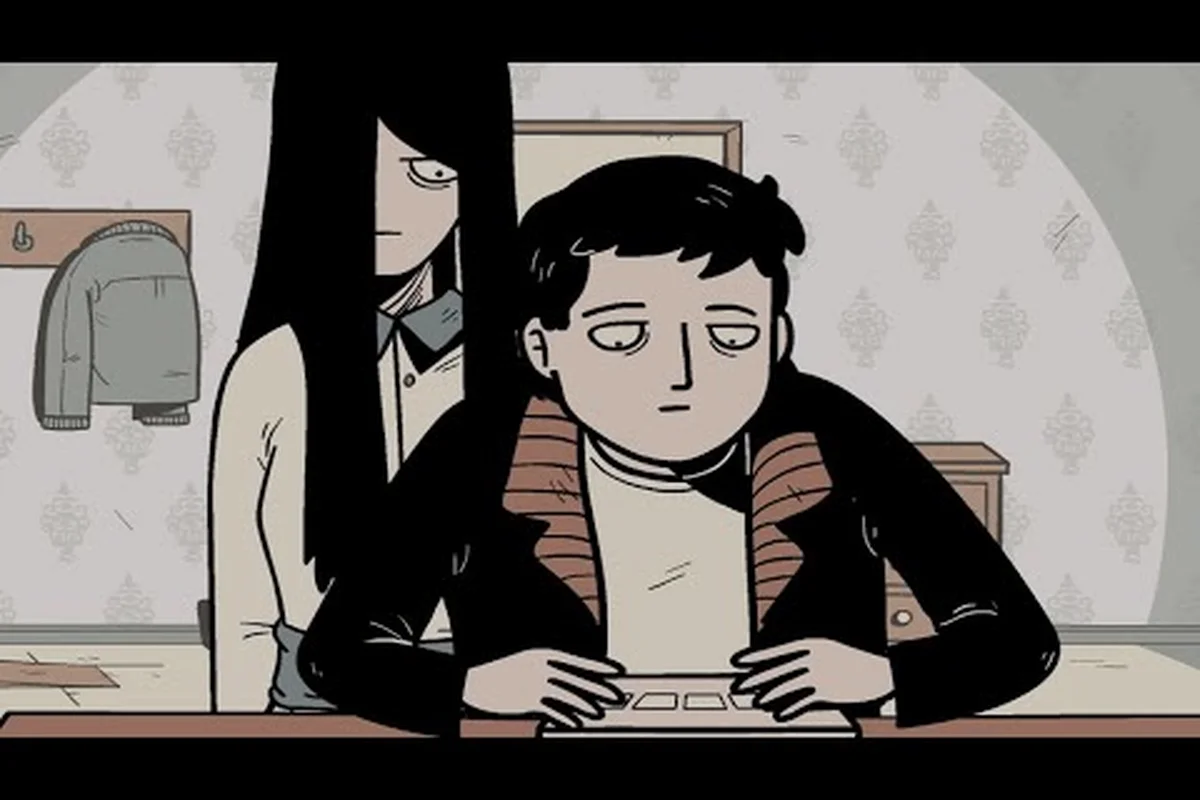
The Girl in the Window throws you into a dimly lit house where every drawer hides a clue and every object rearranges the next lock. This complete the girl in the window all puzzles walkthrough lays out every riddle in the order the game actually presents them, so you can solve each one without rewinding scenes or guessing. The randomized symbol puzzles feel unfair on a first run, but once you understand the derivation logic behind them, the same system cracks open every code. Below is a spoiler-friendly chapter-by-chapter path that doubles as a reference whenever a later puzzle reuses an earlier motif.
Room One — Waking Up and the First Lockbox
You start the game on a bed with only a small inventory and a single locked box on the nightstand. The first objective is mechanical: examine the nightstand, find the Magnifying Glass, and use it on the painting to reveal a hidden Roman Numeral sequence. This is the gateway puzzle, and it teaches the core loop the rest of the game follows — inspect → combine → derive → enter code.
| Step | Action | Result |
|---|---|---|
| 1 | Tap the nightstand drawer | Receive Pocket Knife |
| 2 | Use Pocket Knife on the framed photo | Reveal note with partial symbol row |
| 3 | Apply Magnifying Glass to the oil painting | Read the hidden Roman numerals |
| 4 | Enter derived number on the lockbox | Unlock and collect the Iron Key |
Players following a text walkthrough often report missing the painting hint because the game does not highlight interactive surfaces on the first screen. Walk close, tap every shadow, and the wall will give up its secret. Zooming in on the painting with the Magnifying Glass also exposes brush strokes the naked eye skips, which is why slow, methodical first screens almost never end in a dead end.
Room Two — The Kitchen Object Order
The kitchen introduces the Object Order puzzle, a logic gate that decides whether you can leave the room. Four objects — a Cross, a Glass of Wine, a Mirror, and a Garlic Clove — sit on the counter, and the game asks you to arrange them in a thematic order. The trick is that the order is not numeric; it is narrative. The objects represent a sequence of protection, temptation, reflection, and warding, and the order changes if you restart the chapter.
| Slot | Theme | Correct Object (Run A) | Correct Object (Run B) |
|---|---|---|---|
| 1 | Protection | Cross | Garlic Clove |
| 2 | Temptation | Glass of Wine | Mirror |
| 3 | Reflection | Mirror | Glass of Wine |
| 4 | Warding | Garlic Clove | Cross |
Community reports on r/DarkDome confirm that the derivation rule is consistent even when the symbols rotate: the answer is always the theme associated with each slot, not the position of any individual item. If you want a no commentary visual reference, the Inkagamer run on YouTube demonstrates the logic with zero chatter, which makes it the closest match to a video walkthrough for hands-off learners.
The Randomized Symbol Code System
Once you have the Iron Key, the game shifts to its signature mechanic: Symbol Codes. These appear on wardrobes, safes, and grandfather clocks, and they change every playthrough. Players following a walkthrough with solutions sometimes assume the codes are hard-coded, but they are actually derived from environmental clues in the same scene.
How Derivation Works
The derivation system rests on three steps that repeat for every symbol code in the game, from the first wardrobe lock to the final grandfather clock safe. Once you internalize the sequence, randomized codes stop being guesswork and become simple arithmetic you can work out on paper:
-
Identify the source object. Every code traces back to a nearby item — a diary page, a clock face, a shelf ornament, or a wall sconce.
-
Read the three hints. The game highlights three small details on the source object. Each detail maps to one digit of the final code.
-
Apply the rotation rule. On a new run, the same three details map to a different digit because the engine shifts their numeric values by a fixed offset. The offset is hidden in the Ledger found in the study.
| Clue Type | Example Detail | Numeric Mapping (Run A) | Numeric Mapping (Run B) |
|---|---|---|---|
| Item count | Number of candles on a sconce | 3 | 7 |
| Clock position | Hour hand direction | 9 | 4 |
| Letter offset | The 5th letter of a written word | 5 | 2 |
Once you have the three numbers, enter them in the order the source object presents them — top to bottom or left to right. The combination is always three digits, and the engine never repeats a previous code within the same playthrough. The AppGamer guide walks through the same logic with screenshots, which is useful for players who prefer a gameplay walkthrough format with spoken reasoning.
Room Three — The Library and the Grandfather Clock
The library is the largest room in the first act, and it contains three layered puzzles: the Bookshelf Order, the Grandfather Clock Code, and the Diary Cipher. You solve them in sequence because each one unlocks the item needed for the next.
Bookshelf Order
The bookshelf puzzle asks you to sort five books by color, size, and spine emblem. The correct order is the one that matches the painting on the opposite wall. The game does not tell you which attribute to prioritize, but a consistent rule applies: emblem first, then size, then color.
| Priority | Attribute | Reason |
|---|---|---|
| 1 | Emblem | Painted directly on the wall opposite |
| 2 | Size | Tallest book always sits at the end |
| 3 | Color | Confirms the previous two choices |
Grandfather Clock Code
The clock face is the largest Symbol Code in the game. The three hints appear as the positions of the hands, the roman numerals that are scratched, and the date engraved on the pendulum. The derivation follows the same rule as the kitchen lockbox: read top to bottom, apply the Ledger offset, and enter.
Diary Cipher
The diary cipher is the only puzzle that does not use the Symbol Code system. Instead, it asks you to substitute each letter of a short phrase with the symbol carved into the page corner. The phrase is always three words long and the substitution is direct — no rotation, no offset. Players who want a full visual reference can match this section against the official Google Play listing, which documents the same diary page on the store page art.
Room Four — The Attic and the Final Derivation
The attic closes the first act and serves as the final test of the derivation system. A locked trunk sits under the eaves, and three separate clues in the room combine into a single six-digit code. The three clues are a Music Box Tune, a Photo Sequence, and a Wall Chalk Drawing. Each clue yields two digits.
| Clue | First Digit Source | Second Digit Source |
|---|---|---|
| Music Box Tune | Number of notes played | Note position in the scale |
| Photo Sequence | Person count | Order in which they appear |
| Wall Chalk Drawing | Number of strokes | Position of the missing stroke |
The six-digit answer opens the trunk and reveals the Brass Medallion, the item that gates the second act. According to community testing, the derivation offset in the attic is always the largest of the run, which means the numbers you derive in earlier rooms no longer match by the time you reach the eaves. Re-derive from scratch every time you enter the attic.
Strategy Tips for a Clean First Run
A clean first run depends on inventory discipline. The game penalizes you for carrying items you do not need, because the inventory grid is small and the engine will not let you pick up a critical tool while a filler object occupies the slot. Drop consumables, keep one Sharp Tool, one Light Source, and one Code Reference at all times.
-
Save the Magnifying Glass. It is the only item that reveals hidden wall writing, and you will need it for every Symbol Code in the game.
-
Photograph every wall painting. Paintings are the single most consistent derivation source across the entire walkthrough, and a quick photo saves a re-derive on every puzzle that reuses their theme.
-
Do not skip the Ledger. The Ledger is the only object that exposes the rotation offset, and without it the Symbol Codes will look random even when you understand the underlying logic.
-
Replay the kitchen object puzzle twice on a fresh save. Two runs side by side will teach the rotation rule faster than any guide can, and you will retain the logic for the rest of the playthrough.
-
Keep a notebook. Players who finish the game in one session usually have a small notepad open beside their device. The codes are short, but the derivation steps are easy to lose track of mid-attic.
How the Derivation Logic Carries Into Act Two
Act two reuses the same system with two new variables: time of day and weather. The attic's outdoor window now drives part of the code, and the brass medallion you found becomes the new offset source. If you have internalized the Symbol Code logic from act one, act two will not introduce a new mechanic — only a new data source. For a deeper dive into the act-two item rotations, the spoiler-free walkthrough covers the same derivation rules without revealing the act-two ending.
The randomization stops feeling random once you map the clues to the Ledger. Every puzzle in The Girl in the Window, from the first lockbox to the attic trunk, follows the same three-step derivation, and the same rotation rule applies from the first room to the final exit. The game rewards players who slow down on the early puzzles because the system is the system — act one teaches act two, and act two teaches the ending. Treat the walkthrough above as a reference rather than a script, and the house will give up its secret without a single guess.
Frequently Asked Questions
Are the symbol codes truly random or do they follow a pattern?
The symbol codes follow a strict derivation pattern tied to environmental clues and the Ledger offset. They only feel random because the rotation shifts on every new run, but the underlying rule never changes. Once you have identified the three clues for a given puzzle, the answer is mechanical.
What is the difference between a gameplay walkthrough and a no commentary walkthrough?
A gameplay walkthrough usually includes spoken reasoning, on-screen annotations, and sometimes hints about the next puzzle. A no commentary walkthrough records the same playthrough with no voice and no captions, which makes it ideal for players who want to follow along without spoilers or distraction. Both formats cover identical solutions, so choose the one that matches your learning style.
Do I need to solve the puzzles in the order the game presents them?
Yes, because every puzzle in The Girl in the Window gates the next. The kitchen object order unlocks the tool you need for the library, and the library unlocks the item you need for the attic. Skipping a puzzle will soft-lock the chapter, and the only way to recover is to reload the last save point.
Can I replay just one puzzle to learn the logic without restarting the whole game?
The game does not expose a standalone puzzle mode, but you can load any save point before a major puzzle and replay from there. The two puzzles best suited for isolated practice are the kitchen object order and the grandfather clock code, because they cover the full derivation system in a short scene.
For related coverage, read Flower Pot Symbols and Complete Guide. The flower pot guide breaks down every plant-and-symbol pairing in the greenhouse, while the complete guide ties each solution in this walkthrough back to the full escape route and the secret ending requirements, so you can cross-check any step that felt ambiguous during your own run.