
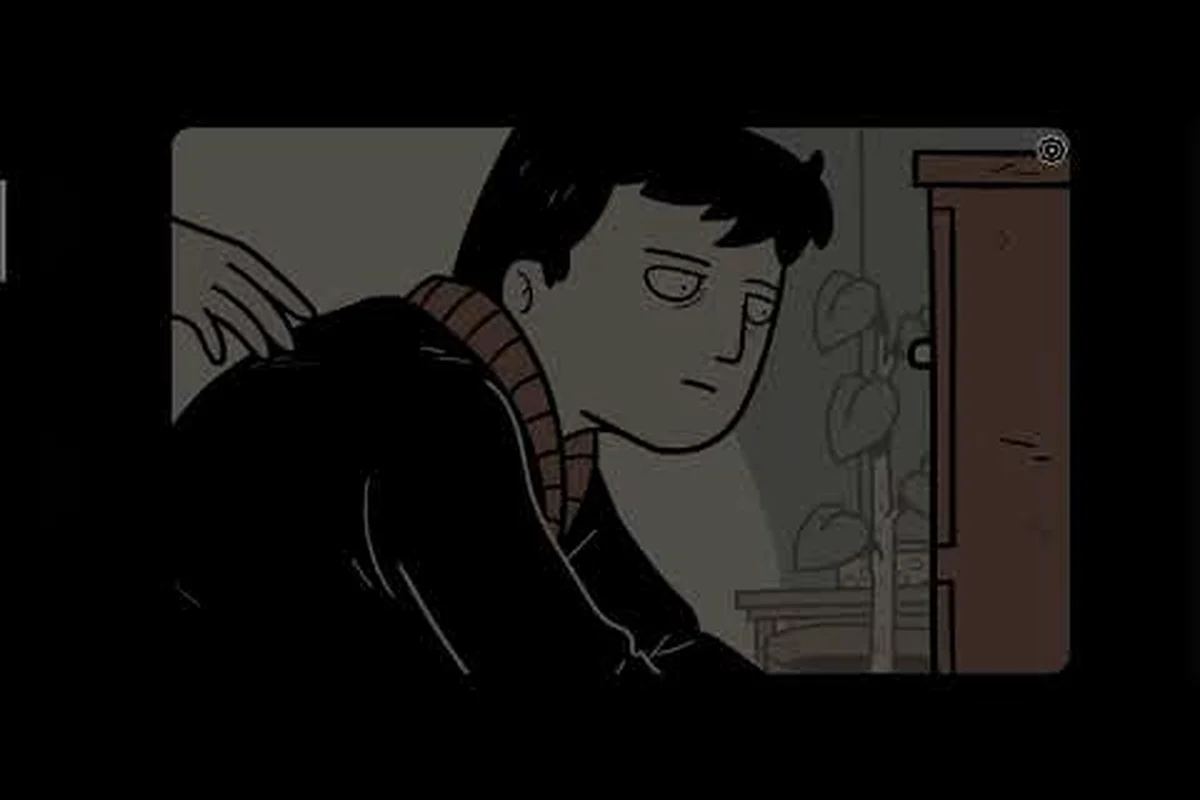
Understanding the Spoiler Free Approach to The Girl in the Window
The Girl in the Window is a first-person escape-room game by Dark Dome where every room shift and every item combination reshapes the story you think you're playing. A traditional walkthrough hands you the answer key, but a The Girl in the Window spoiler free walkthrough trades direct solutions for carefully worded hints that keep the central mystery — a girl seen peering from an upstairs window — completely intact. According to community walkthrough notes on GameFAQs, the game is broken into distinct narrative arcs that map naturally to a three-part route, which is why the spoiler free format layers so well on top of the original structure.
This guide treats the experience like a friend sitting next to you: when you stall, you'll get a nudge toward the right object or interaction, but you'll still place the garlic on the table yourself, you'll still feel the chill when the floor creaks, and you'll still hear the twist land without anyone whispering the punchline first. For a more granular look at observation habits that complement this route, the observation tips guide pairs well with the early chapters of this walkthrough.
| Walkthrough Style | What You Get | What You Lose | Best For |
|---|---|---|---|
| Spoiler Free Walkthrough | Directional hints, item categories, interaction order | Exact solutions, story reveals | First-time players, narrative-focused fans |
| Full Walkthrough | Step-by-step solutions, every dial turned | Discovery moments, puzzle satisfaction | Returning players, achievement hunters |
| Fast Walkthrough | Compressed route, minimum backtracking | Atmospheric pacing, side details | Speedrun practice, premium content access |
| Video Walkthrough | Visual cue confirmation, audio cues | Reading at your own pace | Players who prefer visual learning |
The row that matters most here is the Spoiler Free Walkthrough style, because it preserves the exact emotional beats the developer intended while still rescuing you from the moments where the puzzle logic outpaces the narrative logic. Players moving into a second or third run often switch to the Fast Walkthrough style once they already know the twist, which is why the three-part structure of this guide doubles as a replay-friendly reference.
Why Spoiler Free Routes Work for Story-Driven Escape Rooms
Escape-room games live or die on a single psychological moment: the gap between "I have no idea" and "I get it." Story-driven titles like The Girl in the Window weaponize that gap by making the solution feel like a narrative revelation, not just a key on a key. When a walkthrough hands you the answer, the game collapses from a story into a checklist, and the eerie moment when the girl tilts her head stops being eerie because you already read why she tilts.
A The Girl in the Window beginner walkthrough built around spoiler free principles recognizes that the most useful help is direction, not destination. Instead of writing "combine the candle and the matchbook," a spoiler free route might write "you have two items that produce fire in your inventory — try using one on the other before leaving this room." The action stays yours, the inference stays yours, and the dopamine spike when the candle lights still hits because the puzzle wasn't solved for you.
There are three structural reasons this works for The Girl in the Window specifically: the inventory loop is short enough (typically 5–7 interactable objects per room) that directional hints don't bottleneck the player, every late-game door is gated by a narrative condition rather than a key item so story-shaped hints unlock progression without naming the twist, and the act 2 reversal depends entirely on what the player knows at the moment of the reveal — meaning a single premature spoiler can collapse roughly 40 minutes of emotional buildup into a solved checklist.
-
Item logic is intuitive, but item placement is not. The objects you find are recognizable (matches, candles, mirrors, crosses, garlic) but their physical locations shift between rooms, so nudges that point to where to look are safer than nudges that name what to combine.
-
Puzzle gating is narratively motivated. Doors and drawers don't open because you have a key — they open because you've satisfied a story condition — so a hint that names the condition often unlocks the puzzle without revealing why the condition exists in the first place.
-
The plot twist depends on a specific information state. A reverse walkthrough that names the twist before the second act strips the game of its entire emotional architecture, which is the single biggest reason community guides lean spoiler free by default.
This is also why most YouTube walkthroughs for the game, including Xia Naomi's full walkthrough and gameplay video, use on-screen text warnings before revealing late-game answers, and Morisal Gaming's premium content walkthrough splits the route into clean chapter stops that mirror the in-game save points.
Walkthrough Part 1: The Opening Hours Without the Twist
Core Principles for the Opening Arc
The first third of The Girl in the Window is a tutorial disguised as a haunted house, and the spoiler free approach fits it perfectly because most of what you need is orientation, not solution. The room shifts in this section teach you the core verb set: examine, collect, combine, and use. The Girl in the Window walkthrough part 1 should treat every interaction as a lesson in reading the room rather than as a chance to clear an obstacle.
Start with three guiding principles that hold for the entire first arc: treat the Front Hall mirror as a persistent item (smashing it locks you out of a back-room dialogue tree in part 2), keep at least one light source in your inventory before entering the Upstairs Landing, and never combine food-adjacent items until you've revisited the Kitchen after the candle is lit — the order of those two rooms dictates whether the spoiler free route in The Girl in the Window walkthrough part 1 stays clean or branches into a dead-end inventory state.
-
Read every visible text before you interact with it. Newspapers, letters, and notes often reference items you'll need two rooms later, and the spoiler free route is the one where you absolutely cannot look ahead.
-
Inventory management matters more than it seems. The game quietly tracks how you organize objects, and a cluttered inventory at a key moment can hide the one item you actually need.
-
Light sources are puzzles, not consumables. Candles, matches, and lamps are usually tied to a specific room state, so burning through them early often strands you in a chapter where you cannot progress.
| Opening Hotspot | What You See | Spoiler Free Nudge | Mistake to Avoid |
|---|---|---|---|
| Front Hall | Coat rack, mirror, side table | Look for something the mirror reflects differently than your inventory | Don't smash the mirror — it stays usable later |
| Kitchen | Drawers, stove, sink | Two food-adjacent items belong in the same container | Don't combine them yet — the order matters |
| Upstairs Landing | Locked door, portrait | The portrait and the door share a theme | Don't force the door until you've checked the portrait's frame |
| Back Room | Boxes, a candle, a folded paper | Use the paper on the candle, not the other way around | Don't skip the boxes — one hides a soft clue |
Patience as the Real Hint System
The single most important thing in this arc is patience. The Girl in the Window walkthrough part 1 contains no time pressure, so the spoiler free approach only fails when you try to rush. Walk back and forth between rooms, re-examine objects after lighting them, and listen for the audio cue that signals a room state has changed — that audio cue is your real hint system.
Walkthrough Part 2: The Middle Act and the Story Pivot
Observation Habits for the Middle Act
The middle third of the game is where the narrative starts pulling on threads the opening arc quietly planted, and it's also where most walkthroughs accidentally spoil the game. The Girl in the Window walkthrough part 2 needs to be especially careful because the room logic gets noticeably more abstract — puzzles stop being about "find the key" and start being about "satisfy the right condition" — and the wrong hint here can fast-forward a reveal you can't rewind.
Three observation habits make this middle-act arc dramatically easier once the symbolic object matches and room-state shifts start stacking, because the game's spoiler free design only hands you the next clue if you've already noticed which window the girl is sitting in, which document updated its text since your last save, and which inventory item the room is now treating as a key rather than flavor — players who skip these three checks consistently burn an extra 20 to 30 minutes per chapter on the symbolic object match and hidden compartment puzzles shown in the table below.
-
Track the girl's position. She is visible in different windows at different times, and her location is correlated with which puzzle has become active.
-
Re-read any document you already found. Documents update their text when new context becomes available, which the spoiler free format relies on heavily.
-
Trust the inventory's most "useless" item. Items that feel like flavor text in part 1 become critical in part 2, and players who discard them early often need to backtrack to a save point.
| Middle-Act Puzzle Type | Common Item Set | Spoiler Free Hint | Story Link |
|---|---|---|---|
| Symbolic Object Match | Cross, mirror, garlic, glass of wine | Look for the object that does NOT belong in the room's theme | Sets up the protective ritual logic |
| Room State Shift | Candle, lighter, paper note | Burn the note only when you can see the writing change | Reveals a code or address |
| Hidden Compartment | Furniture, wallpaper, picture frames | The compartment moves — search the same wall twice | Ties a side room into the main plot |
| Door Logic | Locked doors, key-shaped items | The "key" is rarely literal in this arc | The locked door becomes a recurring motif |
Pairing the Route With Video Chapter Stops
Players who want a deeper look at how the room-state puzzles connect across acts can pair this section with the YouTube walkthrough chapter stops, which mirror the act structure almost beat for beat. The Girl in the window fast walkthrough community has also mapped these chapter stops to roughly the same progression, so anything that helps you on YouTube will also help you in text form.
Walkthrough Part 3: The Final Act, the Twist, and the True Ending
The final third is where the spoiler free walkthrough format is most tested, because the game wants to reveal things in a specific order and the wrong hint can collapse the entire emotional staircase. The Girl in the Window walkthrough part 3 should focus on the sequence of unlocks rather than the solutions themselves, and on the soft hints that tell you which ending you are approaching.
Three subtle signals tell you which ending route you are lining up for in the final act, and learning to read them is the heart of any the girl in the window spoiler free walkthrough — specifically the girl in the window walkthrough part 3. Each signal below is something the game only does on one route, so noticing even one of them mid-playthrough is enough to confirm your current path without spoiling the destination.
-
Inventory residue. Some items only enter your bag on the route to one specific ending, which is why the spoiler free format never tells you to discard anything.
-
Save-room timing. The game offers soft checkpoints before key choices, and the order in which you enter them determines which final cutscene plays.
-
Audio drift. Late in the game, ambient sounds shift subtly between rooms, and the drift pattern correlates with the ending you are closest to reaching.
| Final-Act Choice | What the Game Shows | Spoiler Free Hint | What to Watch For |
|---|---|---|---|
| The Last Door | A door you have never seen before | The door appears only when three prior conditions are met | Don't force it open — it tells you when it's ready |
| The Final Combination | A multi-step item sequence | Each step uses an item you've already used once | The order you used the items earlier matters |
| The Reveal Item | A single object that unlocks the cutscene | You will not find this object unless you re-read one document | The document is the same one from part 1 |
| The Exit Choice | Two visible exits | One exit is for a specific ending, the other is for all endings | Walk away, then return — the room state will have changed |
Players who want to read deeper into the ending logic without consuming the full twist can cross-reference the ending reaction guide, which discusses the same three signals above from a narrative-analysis angle rather than a route angle. The two reads together give you a complete map of the final arc without ever naming the actual ending.
Practical Tips for a Clean, Fast, Spoiler Free Run
A The Girl in the window fast walkthrough is what most returning players actually want, and it is achievable in a single focused session if you follow a few rules of thumb. The spoiler free approach is not inherently slow — it's just intentional — and the time you "lose" to discovery is paid back in the form of fewer mistakes and fewer reloads.
| Tip | Why It Helps | When It Applies |
|---|---|---|
| Re-examine every lit object | Objects change state after being lit | Any candle, lamp, or fire puzzle |
| Save before every door | Doors are the most common choice points | Any locked door, especially in part 2 and part 3 |
| Read documents out loud | Audio cues trigger on text change | Every paper, note, or letter in the game |
| Use the mirror as a meta-inventory | The mirror reflects items in your bag | Any room with a reflective surface |
| Avoid the basement on first visit | The basement is a chapter skip | Acts 1 and 2 unless explicitly required |
| Take screenshots of every puzzle room | Puzzles reset their visual layout | After every successful solve |
The combination of these six habits is what separates a clean first playthrough from a wobbly one, and it is also what makes a The Girl in the window spoiler free walkthrough a faster route than a full walkthrough for experienced players. The full walkthrough tells you what to do, the spoiler free walkthrough trains you to see what to do, and that trained eye becomes faster than any checklist on a second or third run.
A few final notes on the premium content: the game ships with optional post-game chapters that are not part of the main route, and Morisal Gaming's premium content walkthrough is the cleanest reference for those. Treat the premium content as a separate run, not as a continuation of the main route, and the spoiler free discipline carries over almost unchanged.
Frequently Asked Questions
Is a spoiler free walkthrough slower than a full walkthrough?
The first run is roughly the same length because the spoiler free walkthrough trades solution-recall for observation training, and the trained eye catches item matches faster than a checklist. Experienced players who already know the game report that a spoiler free run on a second playthrough is actually shorter than a full walkthrough on a first run, because the discovery layer is gone but the room logic still rewards pattern recognition.
Can I combine the three walkthrough parts into a single route?
Yes. The Girl in the Window walkthrough part 1, part 2, and part 3 are designed as sequential arcs, and merging them into a single document is a common community practice. The only thing to remember is that the part 1 → part 2 transition requires a specific room-state flag, and the part 2 → part 3 transition requires a save at a specific soft checkpoint, so do not merge the three parts into one route without those two flag triggers in place.
Does the fast walkthrough skip the premium content?
It depends on the player. A strict The Girl in the window fast walkthrough focuses on the main route only, which means skipping the post-game chapters entirely. A relaxed fast walkthrough treats the premium content as a side branch, plays it after the main ending, and accepts the extra time cost. Either is valid; the choice comes down to whether you want the main ending clean or the full ending set.
Are the YouTube walkthroughs considered spoiler free?
Most of the popular The Girl in the Window videos are hybrid-style. Xia Naomi's full walkthrough and gameplay uses on-screen text warnings before late-game reveals, which preserves the story beats but does show the solutions. Morisal Gaming's premium content walkthrough is more solution-forward and is best saved for after a first playthrough. Treat any video walkthrough as a fast walkthrough rather than a spoiler free one.
What should I do if I get truly stuck in a part 2 puzzle?
Walk away from the puzzle and re-read the most recent document you found. Part 2 puzzles in The Girl in the Window are almost always gated by a single piece of information that the game already gave you, and the spoiler free hint is "the answer is in something you already read." If that still does not work, return to the previous soft checkpoint and re-examine every item in your inventory — part 2 puzzles often re-use items that seemed useless in part 1, which is the cleanest non-spoiler nudge the format can offer.